
Every December I promise myself I will make my own decorations, and every December I end up in the store aisle holding the same plain ornaments as last year. By the time I get home the craft ideas in my head have turned into a pile of tangled ribbon and one dried up glue stick.
So I broke it into small projects that fit on a kitchen table. The first three cost nothing and use things already in my house, so you can start tonight without a shopping trip. After that come seven simple supplies, one for each project, so you never end up with a bag of craft stuff that sits in a closet until spring.
If you want a coastal look for the tree, my oyster shell ornaments and ceramic Christmas ornaments posts go well next to handmade pieces. And if guests are staying over, my Christmas bedding ideas and cozy living room ideas help the rest of the house feel finished.
This post is about 10 DIY holiday decorations: 3 free projects and 7 easy supplies, from paper snowflakes to painted wood slice tags.
1. Free Idea: Cut Paper Snowflakes From Scrap Paper
My recycling bin is full of junk mail and old wrapping paper by the first week of December, and I always feel a little guilty tossing it. I also have bare windows that look so plain next to the neighbors’ lights.
So I fold a sheet into a square, then a triangle, snip little shapes along the edges and unfold it. Each one takes about three minutes, and a handful taped to the window looks like a whole display. I do it at the kitchen table with a mug of tea, and it costs nothing.
If a window feels too busy, I tape them in a single row at the same height. It looks planned, even though I cut every one by eye while the kettle was heating up.
2. Free Idea: Wrap a Jar or Can for a Candle Holder
There is always one empty jar in my pantry, and it always ends up in the trash. Then I stand in the living room on a cold night wishing I had one more cozy thing on the shelf.
I rinse the label off, wrap the jar in twine or a strip of old fabric and tie a bow around the neck. Put a tea light or a flameless candle inside and it looks like something from a shop. I make three or four at a time so they sit in a row on the mantel.
I keep the colors to two so the shelf does not look messy. A real flame near twine is a bad idea, so I stick with flameless tea lights and let the jar glow.
3. Free Idea: Gather Pine, Twigs and Cones on a Walk
Real greenery in the store costs more than I want to spend, and it is always sold out by the time I go. I get frustrated paying for something the park has in piles.
On a walk, I pick up fallen pine branches, small pine cones and twigs, and I bring them home in a tote bag. I shake out the bugs outside, then tuck the branches into a vase, a bowl or the top of a door frame. It makes the whole house smell like the season for a few days. Only take what is already on the ground.
I like to group three branches of different heights in a tall jar, and I tuck one small cone at the base. That one handful of greenery makes a whole entry table feel decorated, and I have not spent a dollar yet.
4. Fill Clear Ornaments With Anything You Love

Every year I tell myself I will make my own tree ornaments, and every year the store ones win because I do not know where to start. I want something so simple I cannot mess it up.
This 25 set of 50 clear fillable ornaments has two halves that pop open and snap shut, and the listing says it comes in five sizes. I would fill a few with faux snow, a few with torn kraft paper and a few with tiny pine sprigs. I would fill the first one over a bowl so loose bits do not scatter, and handle them by the edges so fingerprints do not show under the tree lights.
5. Paint Wood Slices Into Gift Tags and Ornaments
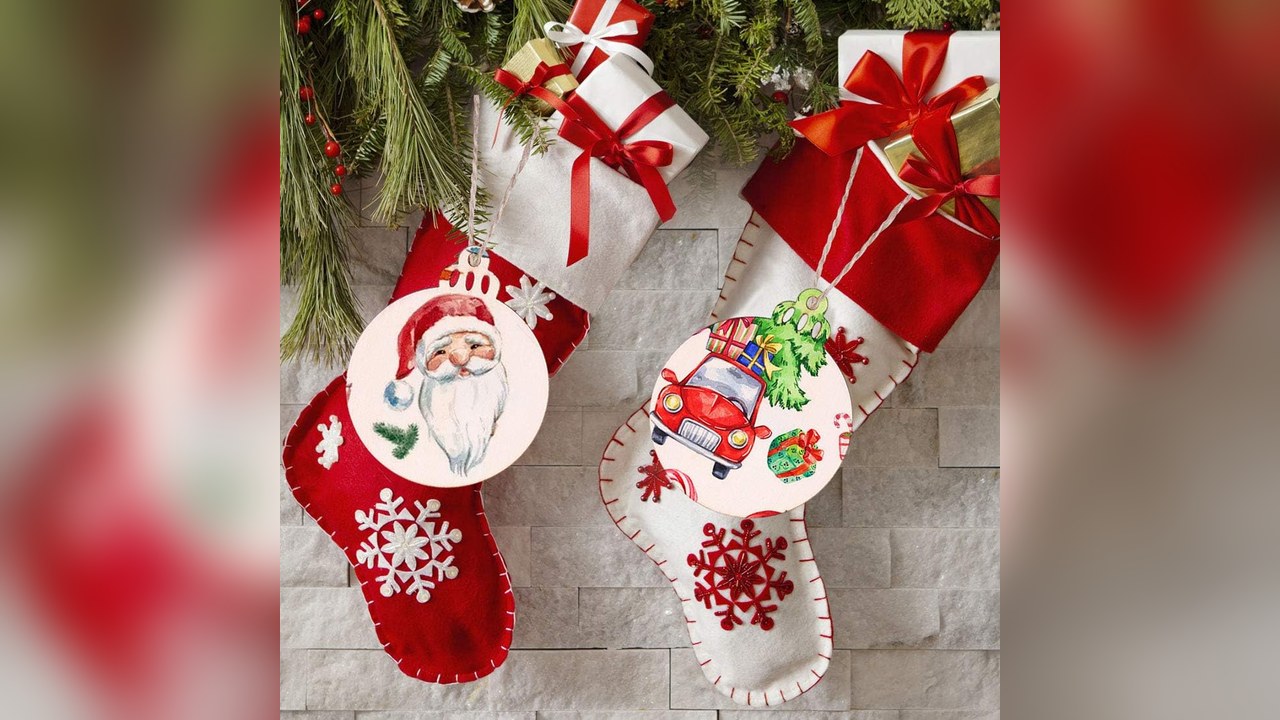
I love handwritten gift tags, but my handwriting on flimsy paper never looks right. I want something I can write a name on and tie on with twine.
This 60 pack of blank wood slices gives you 3.5 inch circles, and the listing says it includes jute twine. They are natural wood, so each one looks a little different, which I like for rustic tags. I would sand any rough edge and wipe the surface first, so the paint pens glide instead of skipping.
6. Dress a Grapevine Wreath Form Your Way

Fresh wreaths in the shop cost more than I want to spend, and I never find one that feels like my house. I would rather start with a plain base and add my own touches.
This 18 inch natural grapevine wreath is a plain form, and I would wrap it in ribbon, glue on a few berry picks and hang it on the door. The vines hold glue well. They shed a few little bits, so I would work over an old towel.
7. Tie Wired Ribbon Bows for Wreaths and Windows

A bow on a wreath always looks easy online, and then my bow ends up flat and sad. I need a ribbon with a wire edge that holds its shape while I figure it out.
This red and black buffalo plaid wired ribbon comes as two rolls, and the listing says it is wire edged. I would make one big bow for the wreath and tie smaller ones on the window frame. I would practice one bow first, since wired ribbon takes a try or two, and cut the tails in a V shape so the ends look finished.
8. Draw Holiday Designs With Acrylic Paint Pens
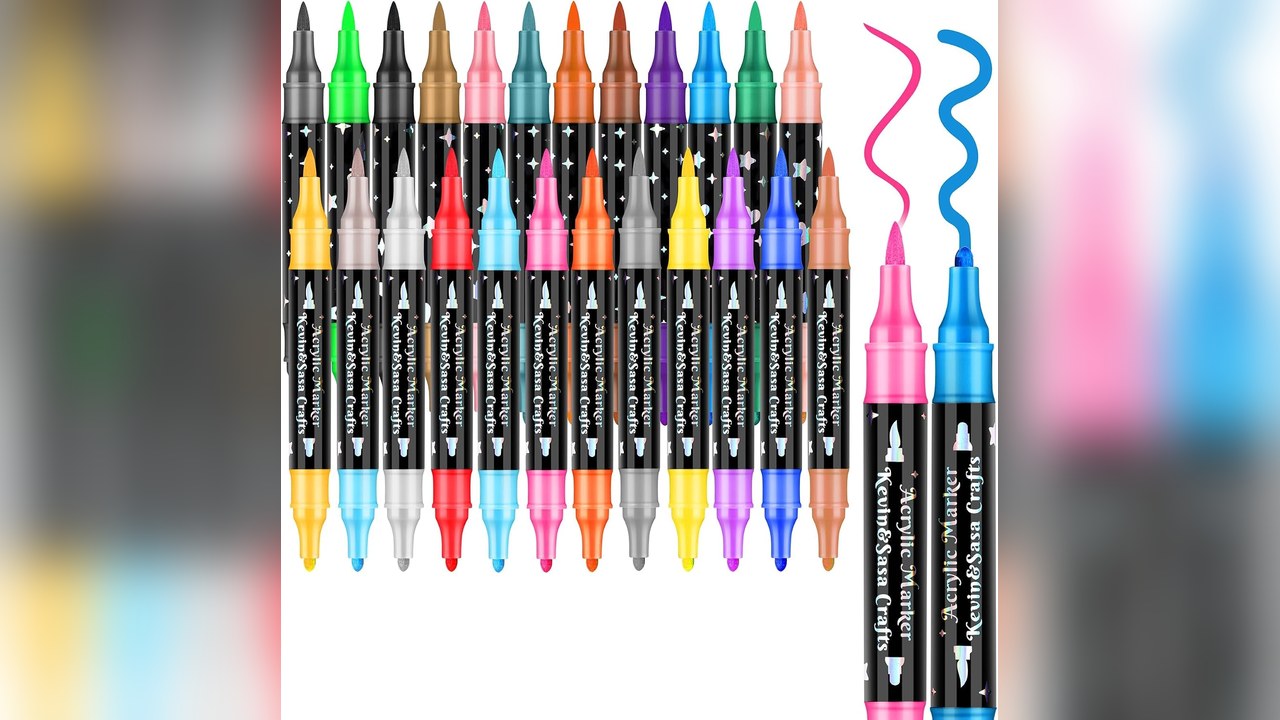
I can draw a decent snowflake on paper, but regular markers slide right off wood and plastic. I want a color that stays put.
This 24 color acrylic paint pen set has dual tips, so I would use the fine tip for names and the brush tip for fills. I would write names on the wood slices and draw stars on the clear ornaments. I would shake each pen and test on scrap paper, then let each coat dry before I layer a new color.
9. Shape Air Dry Clay Into Ornaments, No Oven

I want to make clay ornaments, but I do not own a kiln, and my oven is already full on baking day. I need clay that dries on its own.
This 500 gram block of white air dry clay needs no oven. I would roll it out, press a cookie cutter, poke a hole for string and let it dry for a day or two. I would plan this one early in November, then sand it smooth and add color with the paint pens.
10. Add Battery Fairy Lights to Jars and Wreaths
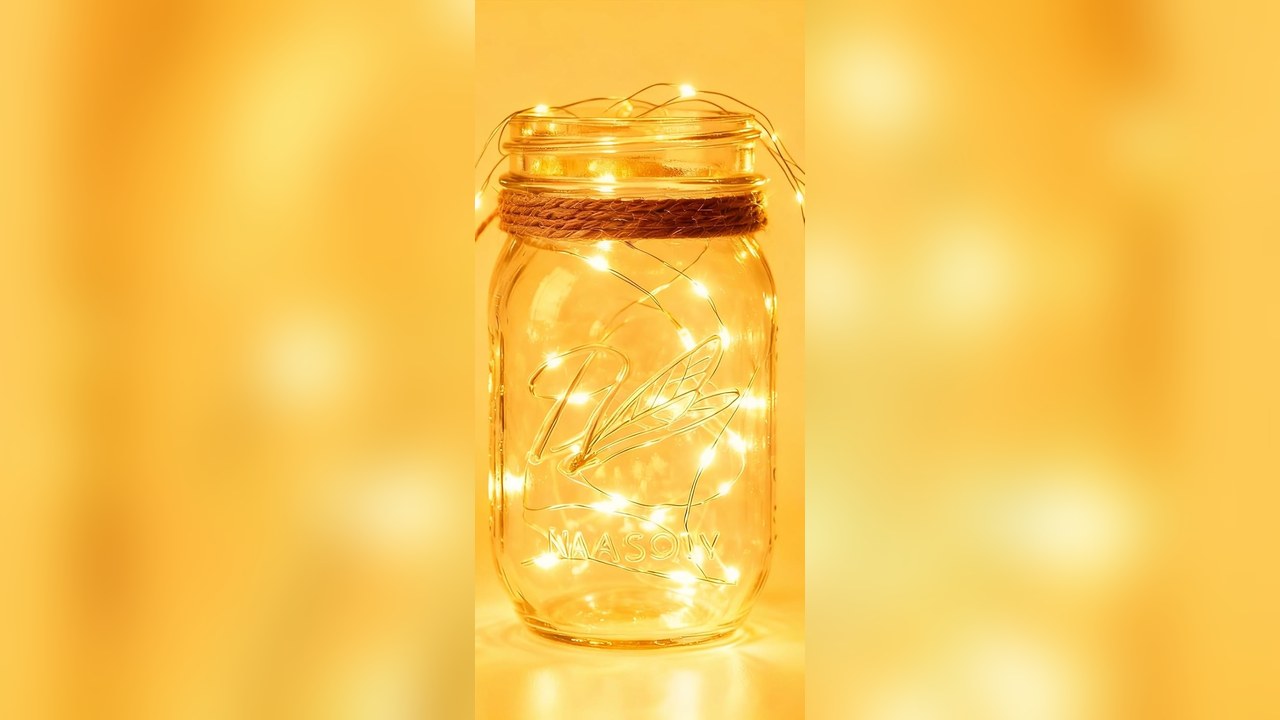
Handmade decor can look a little dim at night, and I do not love trailing cords across my room. I want a soft glow without an outlet.
These battery fairy lights come as a 6 pack of 7 foot copper wire strands with 20 LEDs each. I would curl one strand inside a mason jar, wind another through the wreath and tuck one into a glass ornament. I would tape the battery pack where it hides, behind the wreath or under the jar lid, and keep it within reach for changing batteries.
FREE DIY PLANNER
The DIY Holiday Decorations Planner (PDF)
Pick one project, set up your craft table and plan which decoration you make each weekend.
- Project picker for your skill level
- Craft table setup checklist
- Month by month craft plan
✨ Download DIY Planner
Instant digital download • 100% free • No spam ever
3 Rules for DIY Holiday Decorations That Look Planned
1. Start with one project: I pick one kit, finish it and only then buy the next, so my craft table never turns into a pile of half done ideas.
2. Plan drying time early: I start painting in early November, so paint, glue and clay have time to dry before I hang anything.
3. Add lights last: I tuck in the fairy lights at the end, so I can see what the piece still needs before I add more.
Final Verdict: Start With One Easy Project
If I had to start this weekend, I would cut paper snowflakes first, since they cost nothing. Then I would pick up the clear fillable ornaments, because they are almost impossible to get wrong.
A handmade tree comes from small projects, not a full cart. When the table is finished and the glitter is vacuumed, my oyster shell ornaments are a pretty next step for the tree.
📌 Pin It For Later
Ready to Make Your Own Decor?
Do not lose these DIY holiday decorations! Save the complete guide to your Pinterest DIY Christmas, Homemade Ornaments or Holiday Crafts board.
Frequently Asked Questions
Q: What is the easiest DIY holiday decoration for a beginner?
I would start with paper snowflakes, since they are free. If you want a product, clear fillable ornaments are the easiest, because you drop in snow or greenery and snap them shut.
Q: How much does it cost to make homemade Christmas ornaments?
Most of the supplies in this list run under about ten dollars a pack, and one pack of wood slices or fillable balls covers a whole tree. I buy one kit, finish it, then add a second.
Q: Do I need a Cricut for these projects?
No. Paint pens, a plain wreath form and clay are enough for every project here. I kept it cutting machine free on purpose.
Q: When should I start making my holiday decorations?
I would start in early November. Paint and clay need drying time, and it is easier to finish a few projects slowly than to rush them the week before.